
Editing
How to crop, adjust light and color, and choose an editing app.
Edit what the photo needs
Editing can fix a small problem or shape the whole photo.
Some photographers make small changes. Others build the final look while editing. Both approaches are valid.
Do not be afraid to edit. A few careful changes can turn a flat file into a finished photo.
Cropping
Straighten and trim the frame
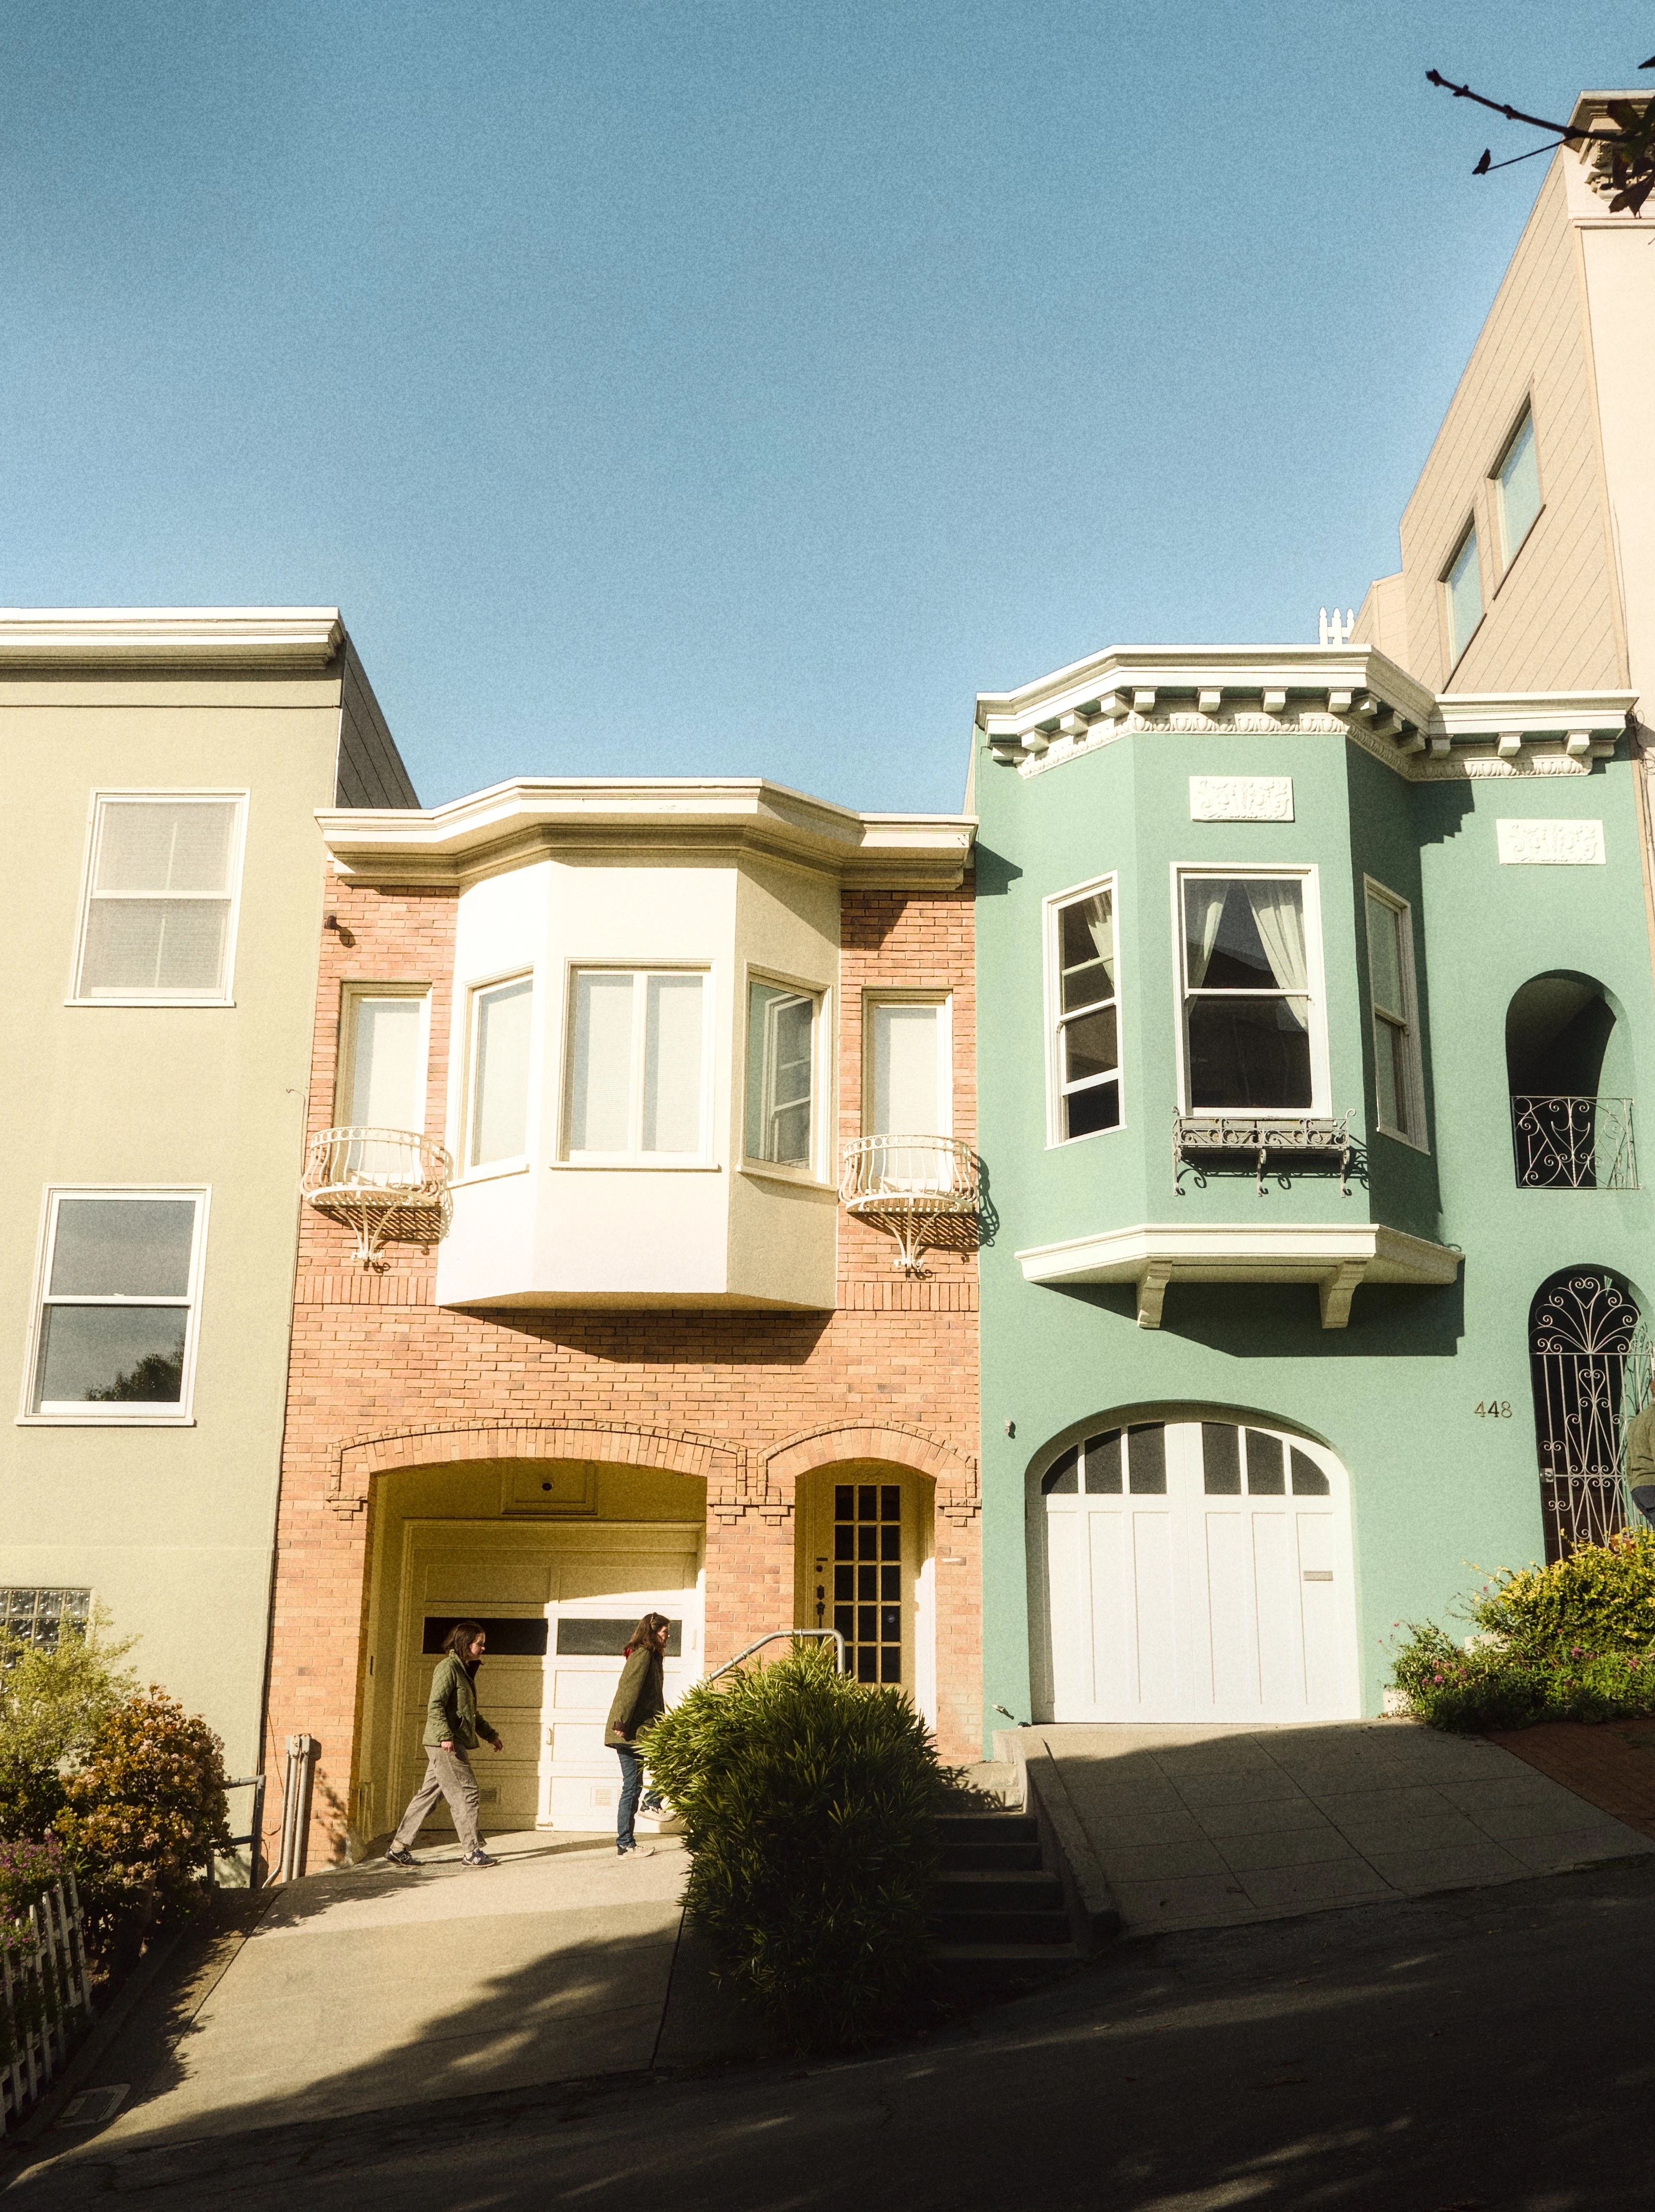
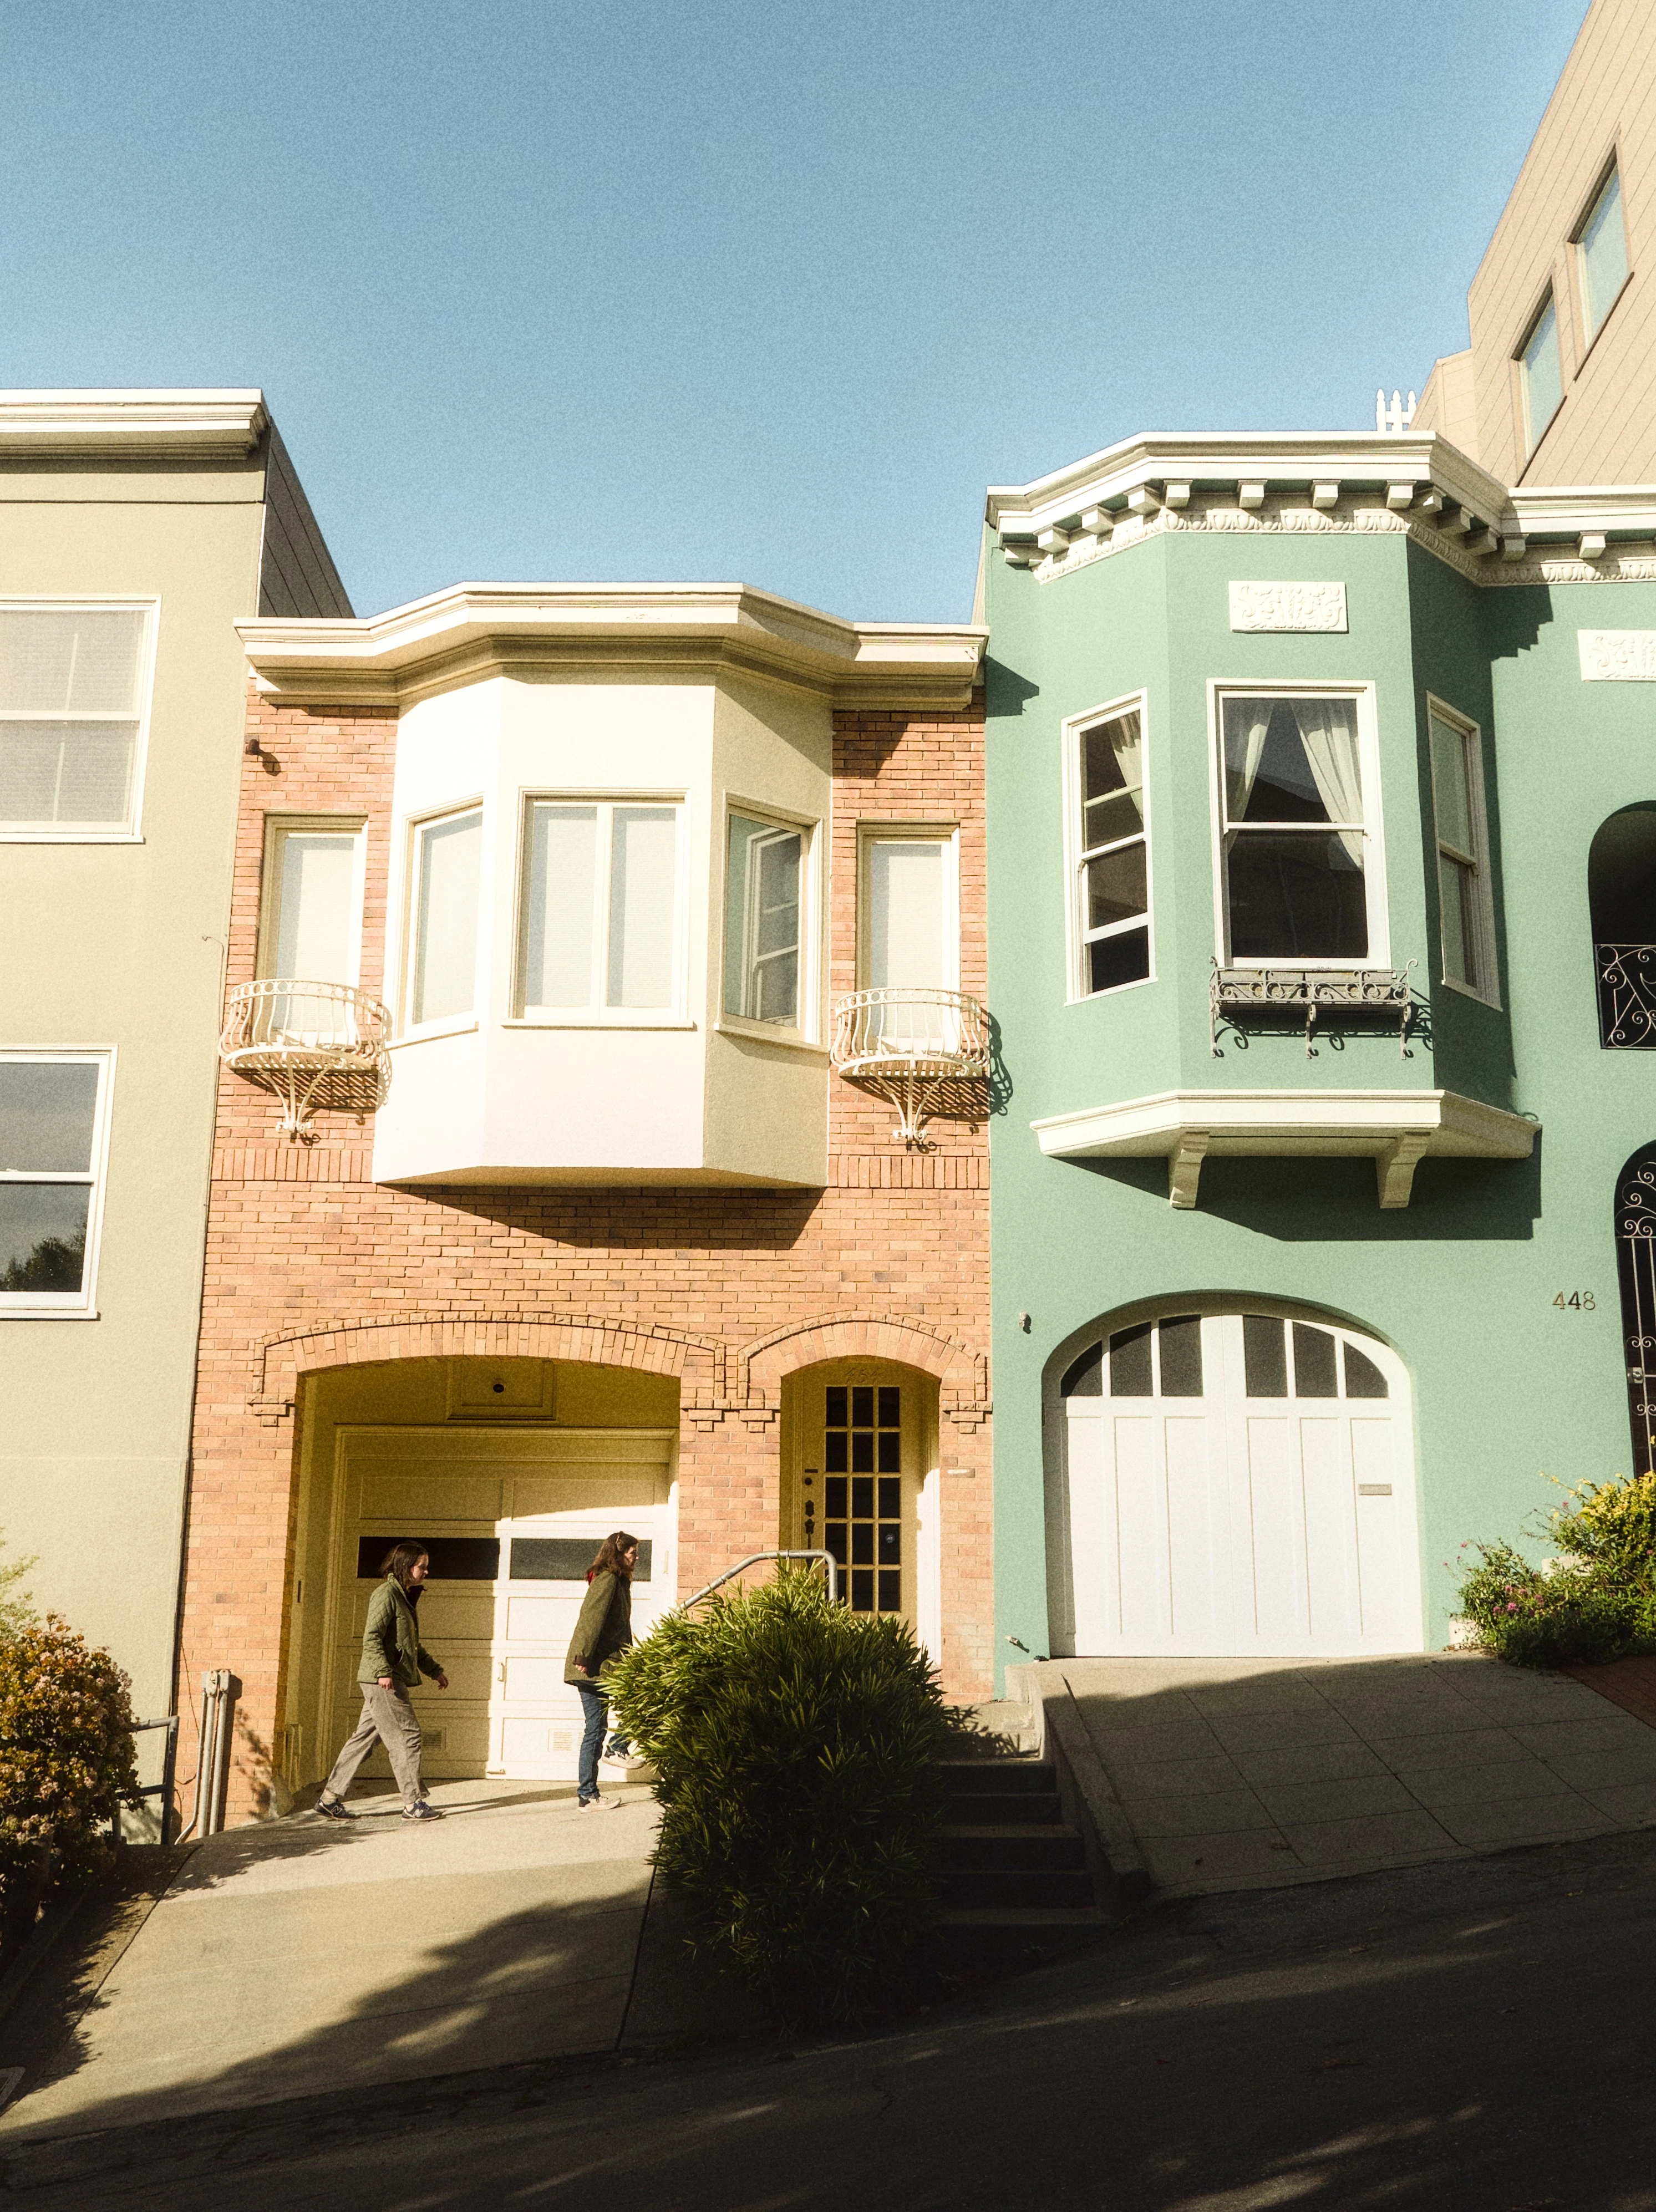
Use the level and rotation tools to fix a tilted camera. Small changes can make the photo feel more balanced.
Cropping sets the aspect ratio and removes parts of the image. Check the edges for distractions such as branches, bright streaks, cut-off objects, or small high-contrast details.
In this example, the crop keeps attention on the two colored houses and removes details near the corners.
Aspect ratio
Keep only the space that helps
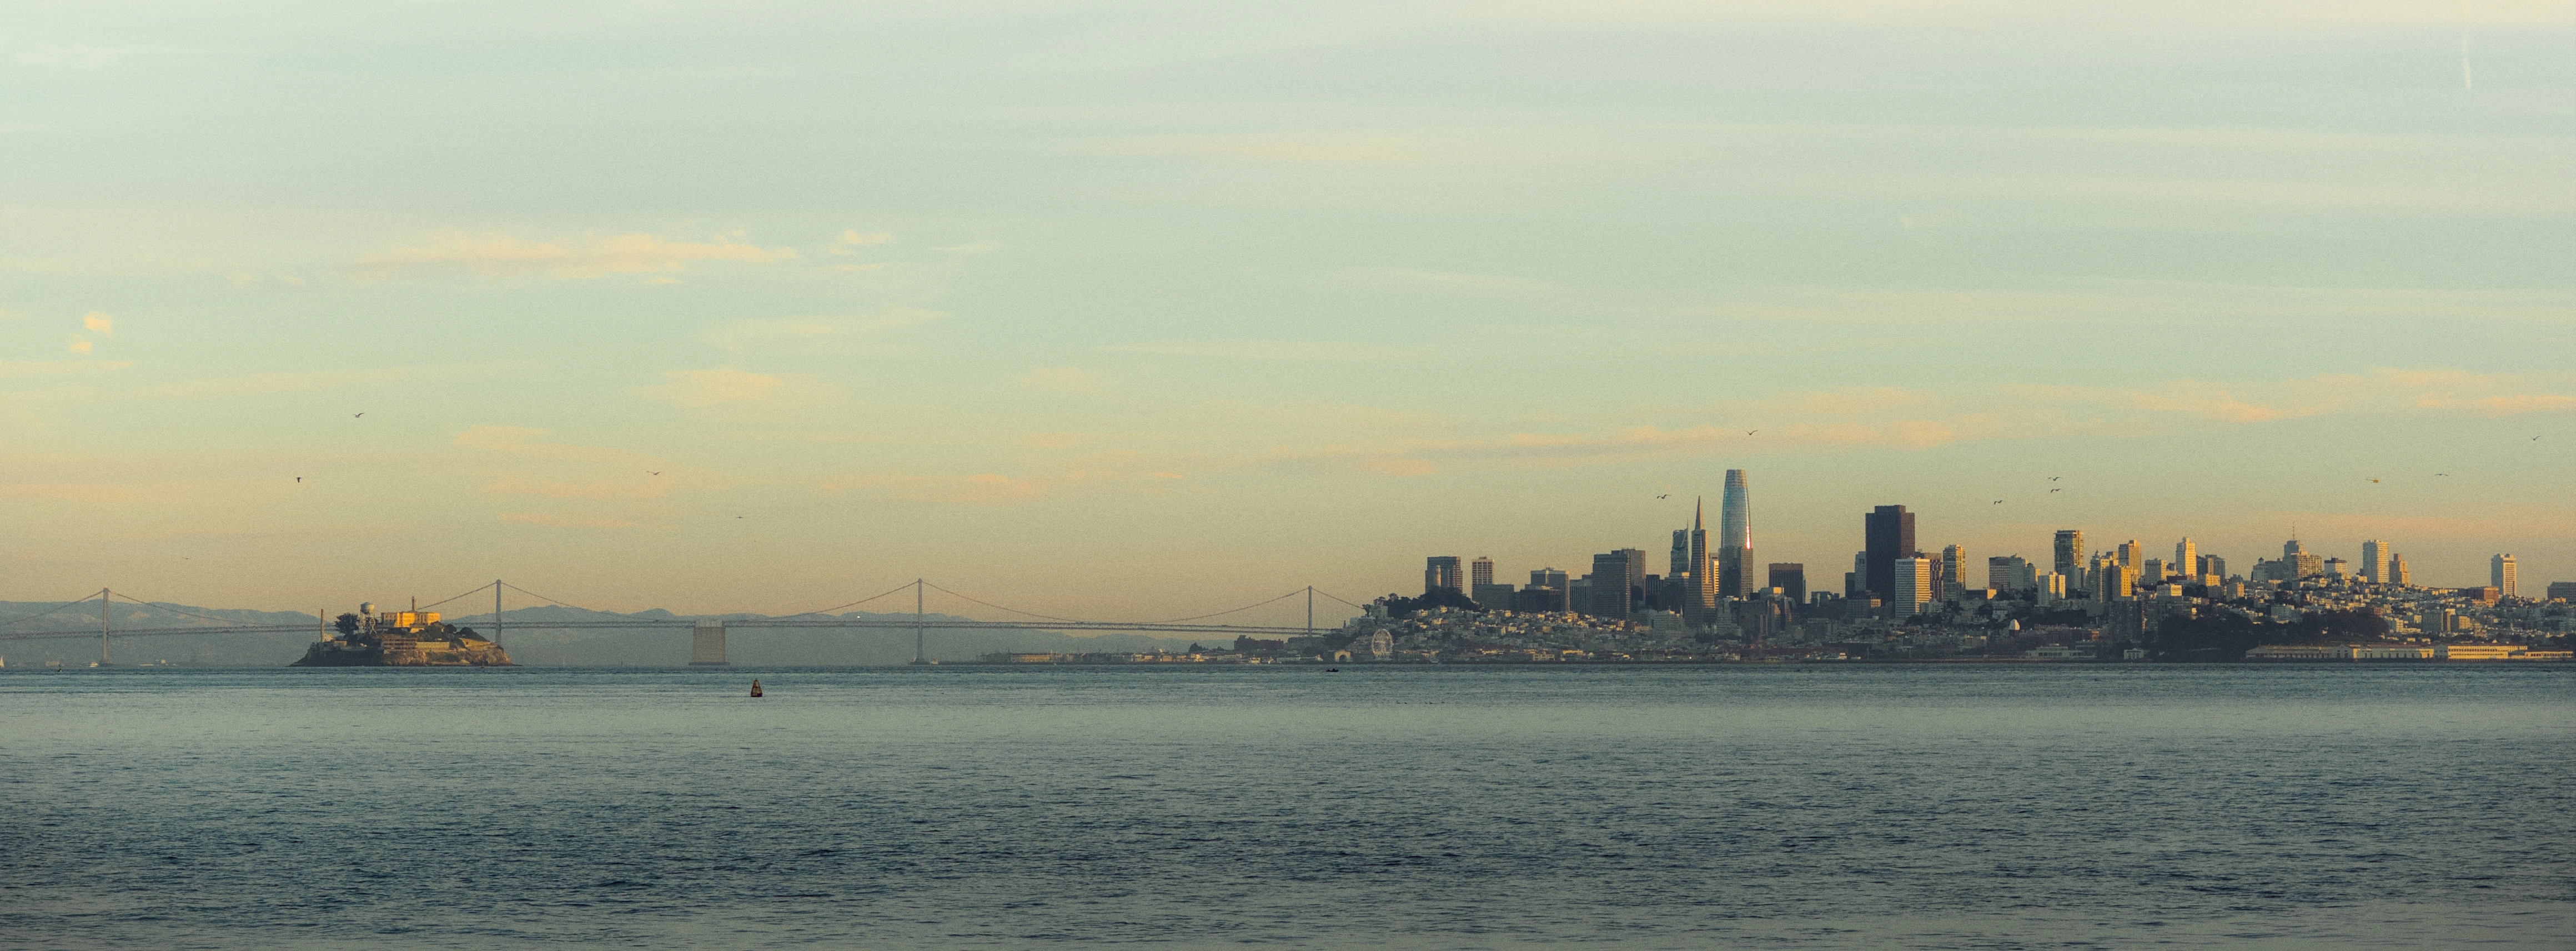
A wide landscape may include too much empty sky or water. Empty space can help a photo, but crop it out when it adds nothing.
Value
Start with brightness and contrast
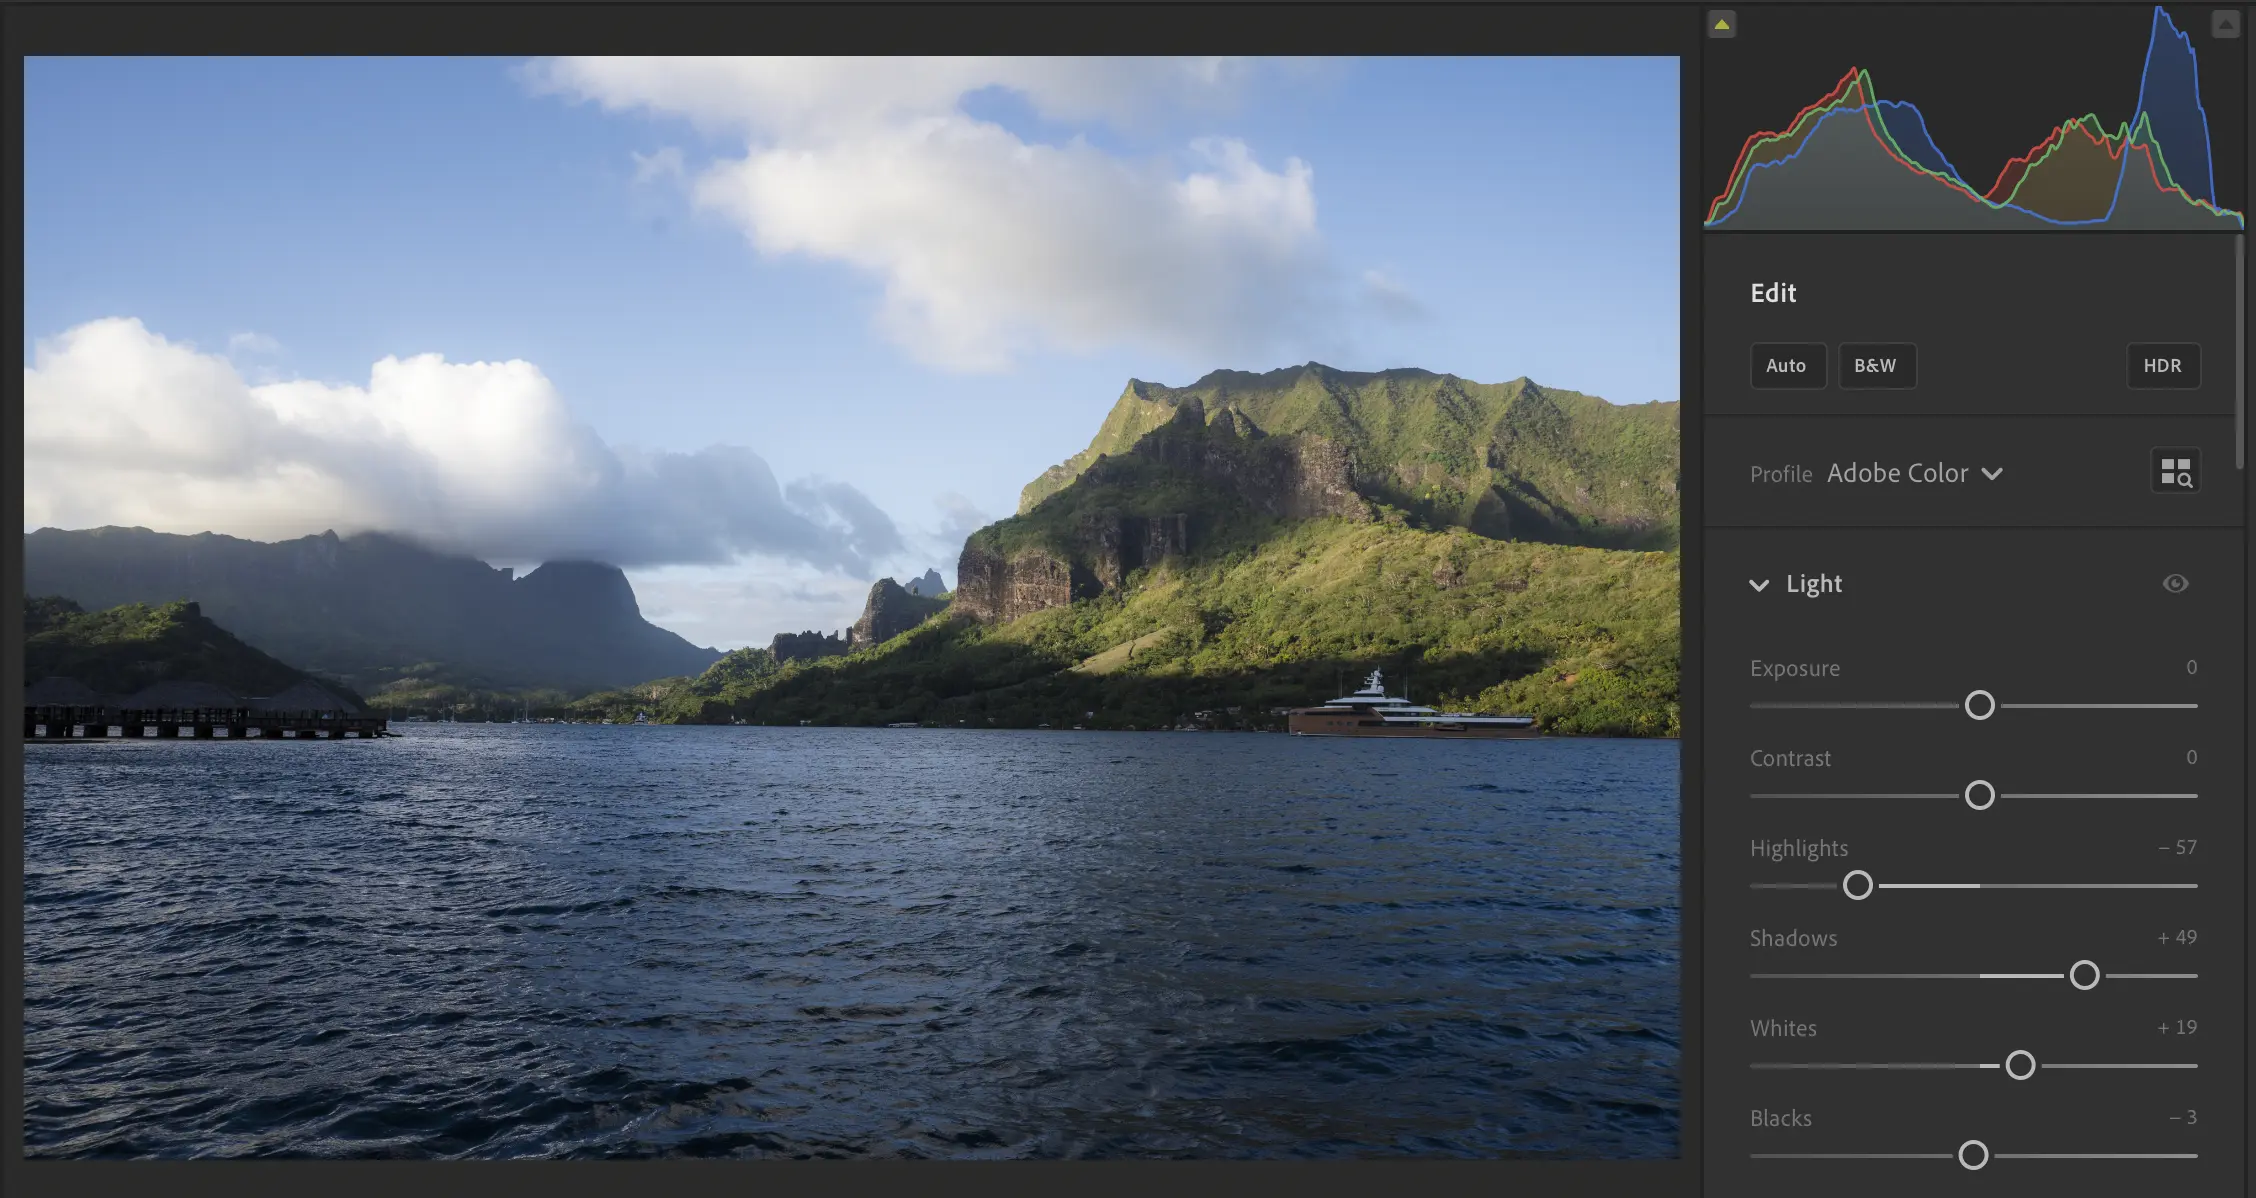
Value, the V in HSV, means how bright or dark each part of an image is. Set the light and dark areas before adjusting color.
A black-and-white photo can work without color. It still needs a clear pattern of light and dark.
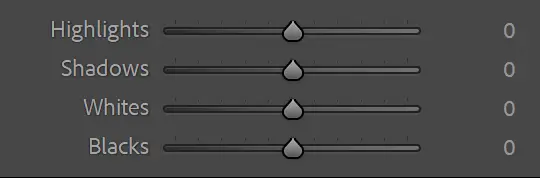
The darkest darks and brightest brights in the photo.
Use these for gentler changes across more of the photo.
Tone curve
Adjust contrast with the tone curve
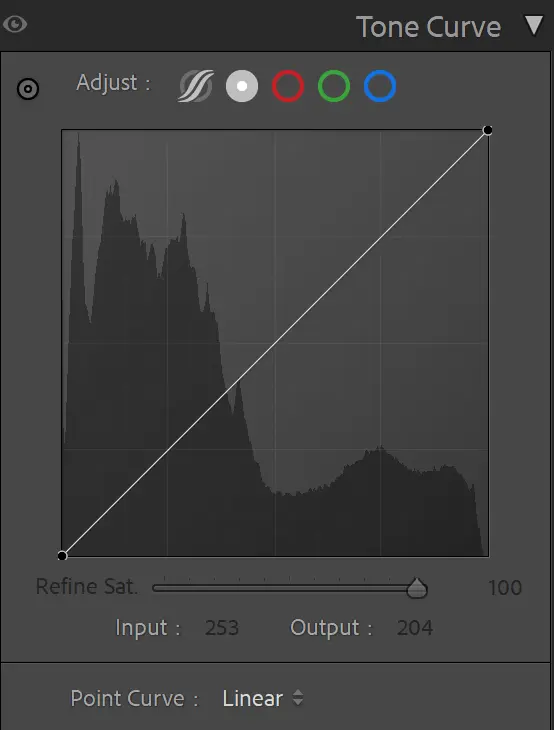
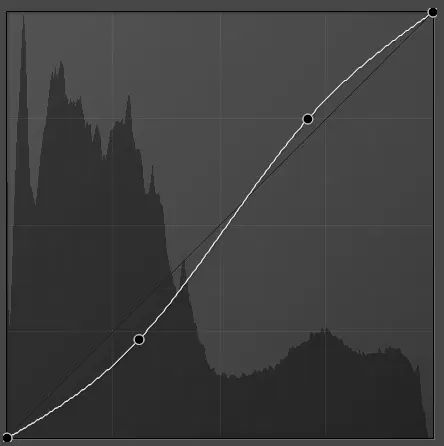
The tone curve gives more control than the basic sliders. Think of the straight line as y = x. The horizontal axis shows the original brightness. The vertical axis shows the brightness after editing. A straight line makes no change.
The dark shape behind the curve is the histogram. It shows how many pixels sit at each brightness level. Raise the right side to brighten highlights. Lower the left side to darken shadows. Doing both makes an S-curve and adds contrast.
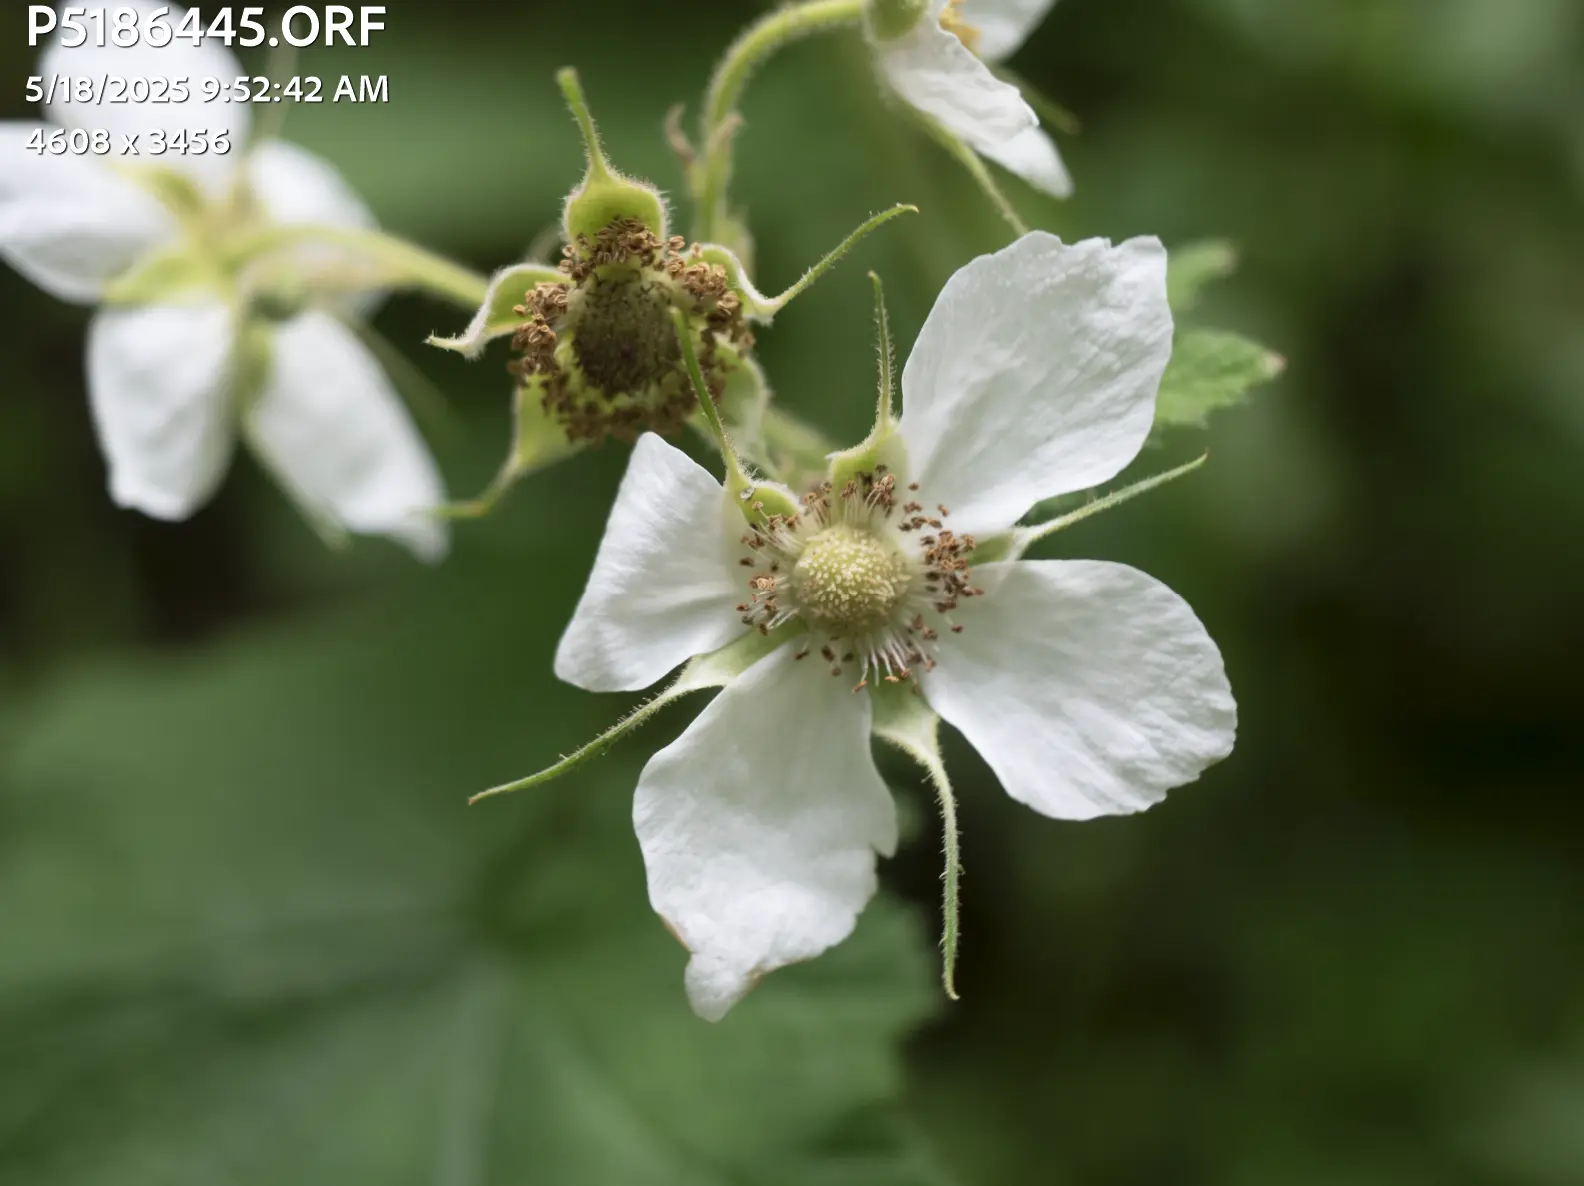
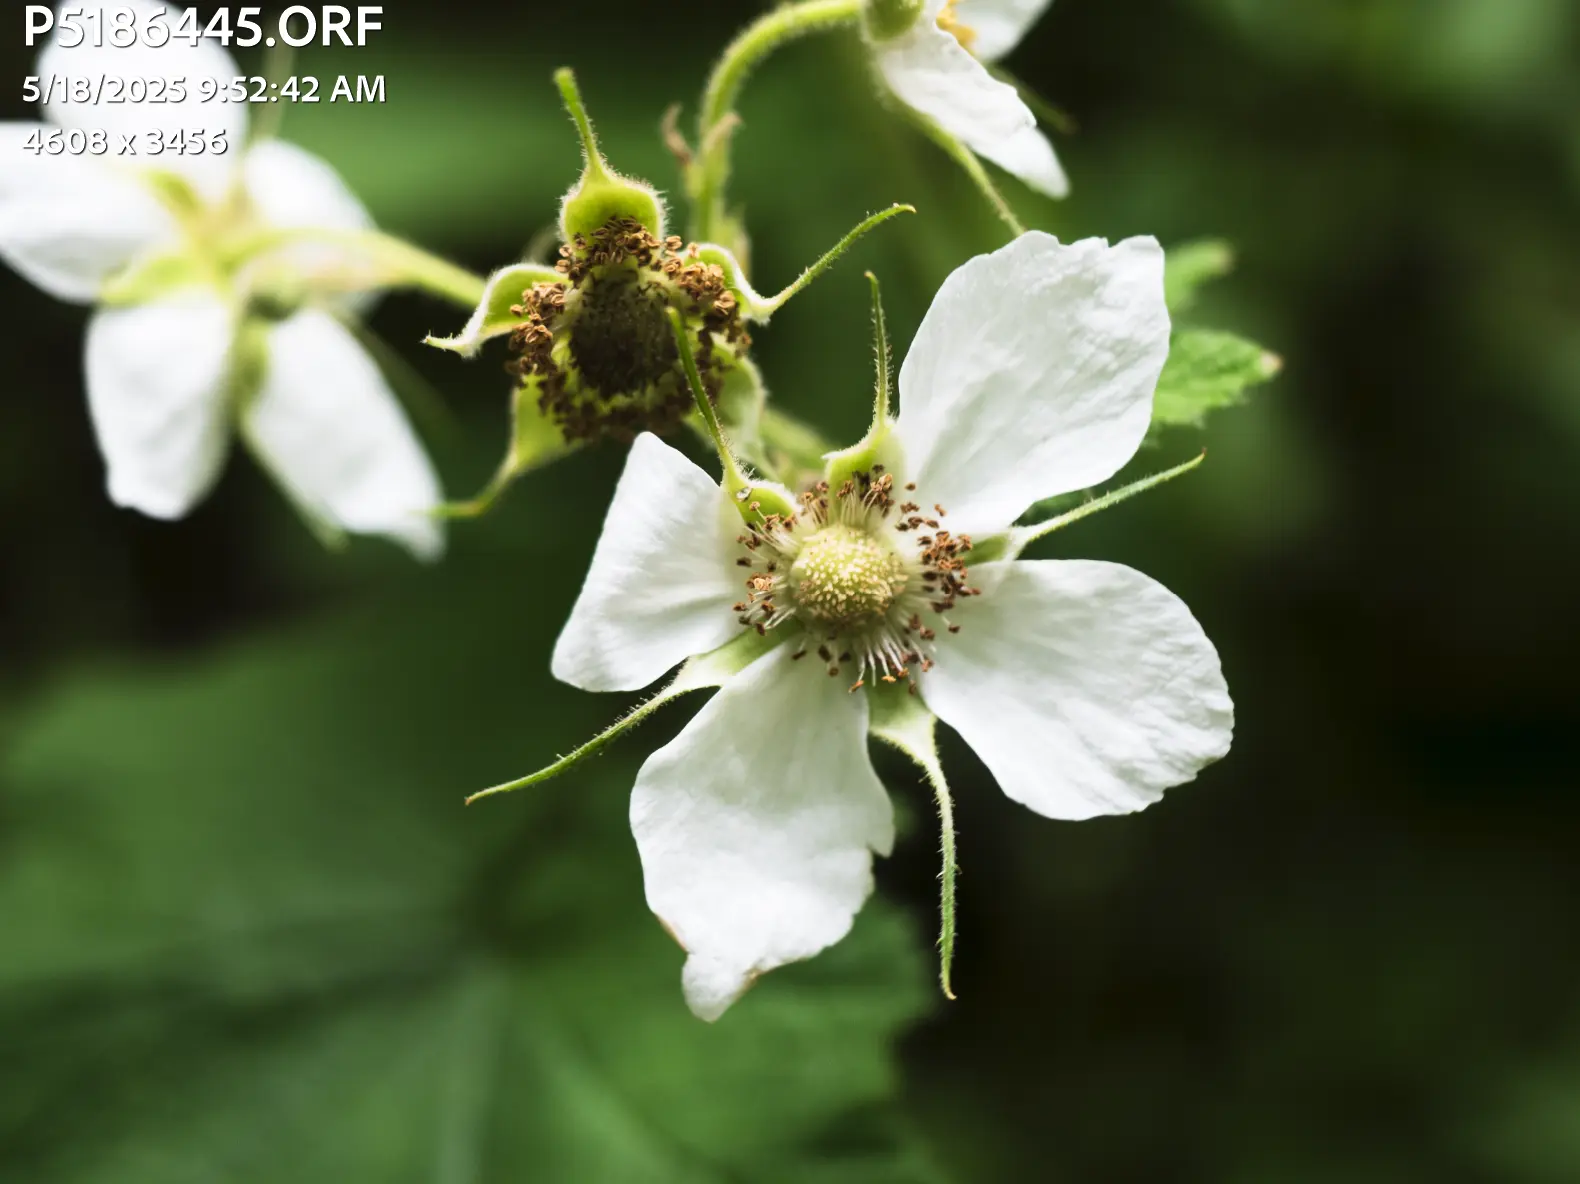
Ansel Adams shaped film prints with dodging and burning. Digital tools are different, but photographers have long changed brightness to guide attention.
The RGB tone curves can also change color. Start with small adjustments because strong curves are easy to overdo.
Color
Use color to support the photo
Start by matching the scene. Temperature makes the photo warmer or cooler. Tint moves it toward green or magenta.
Saturation changes every color. Vibrance changes muted colors first, so it usually looks gentler.
The example keeps the building warm while leaving the sky soft and blue.
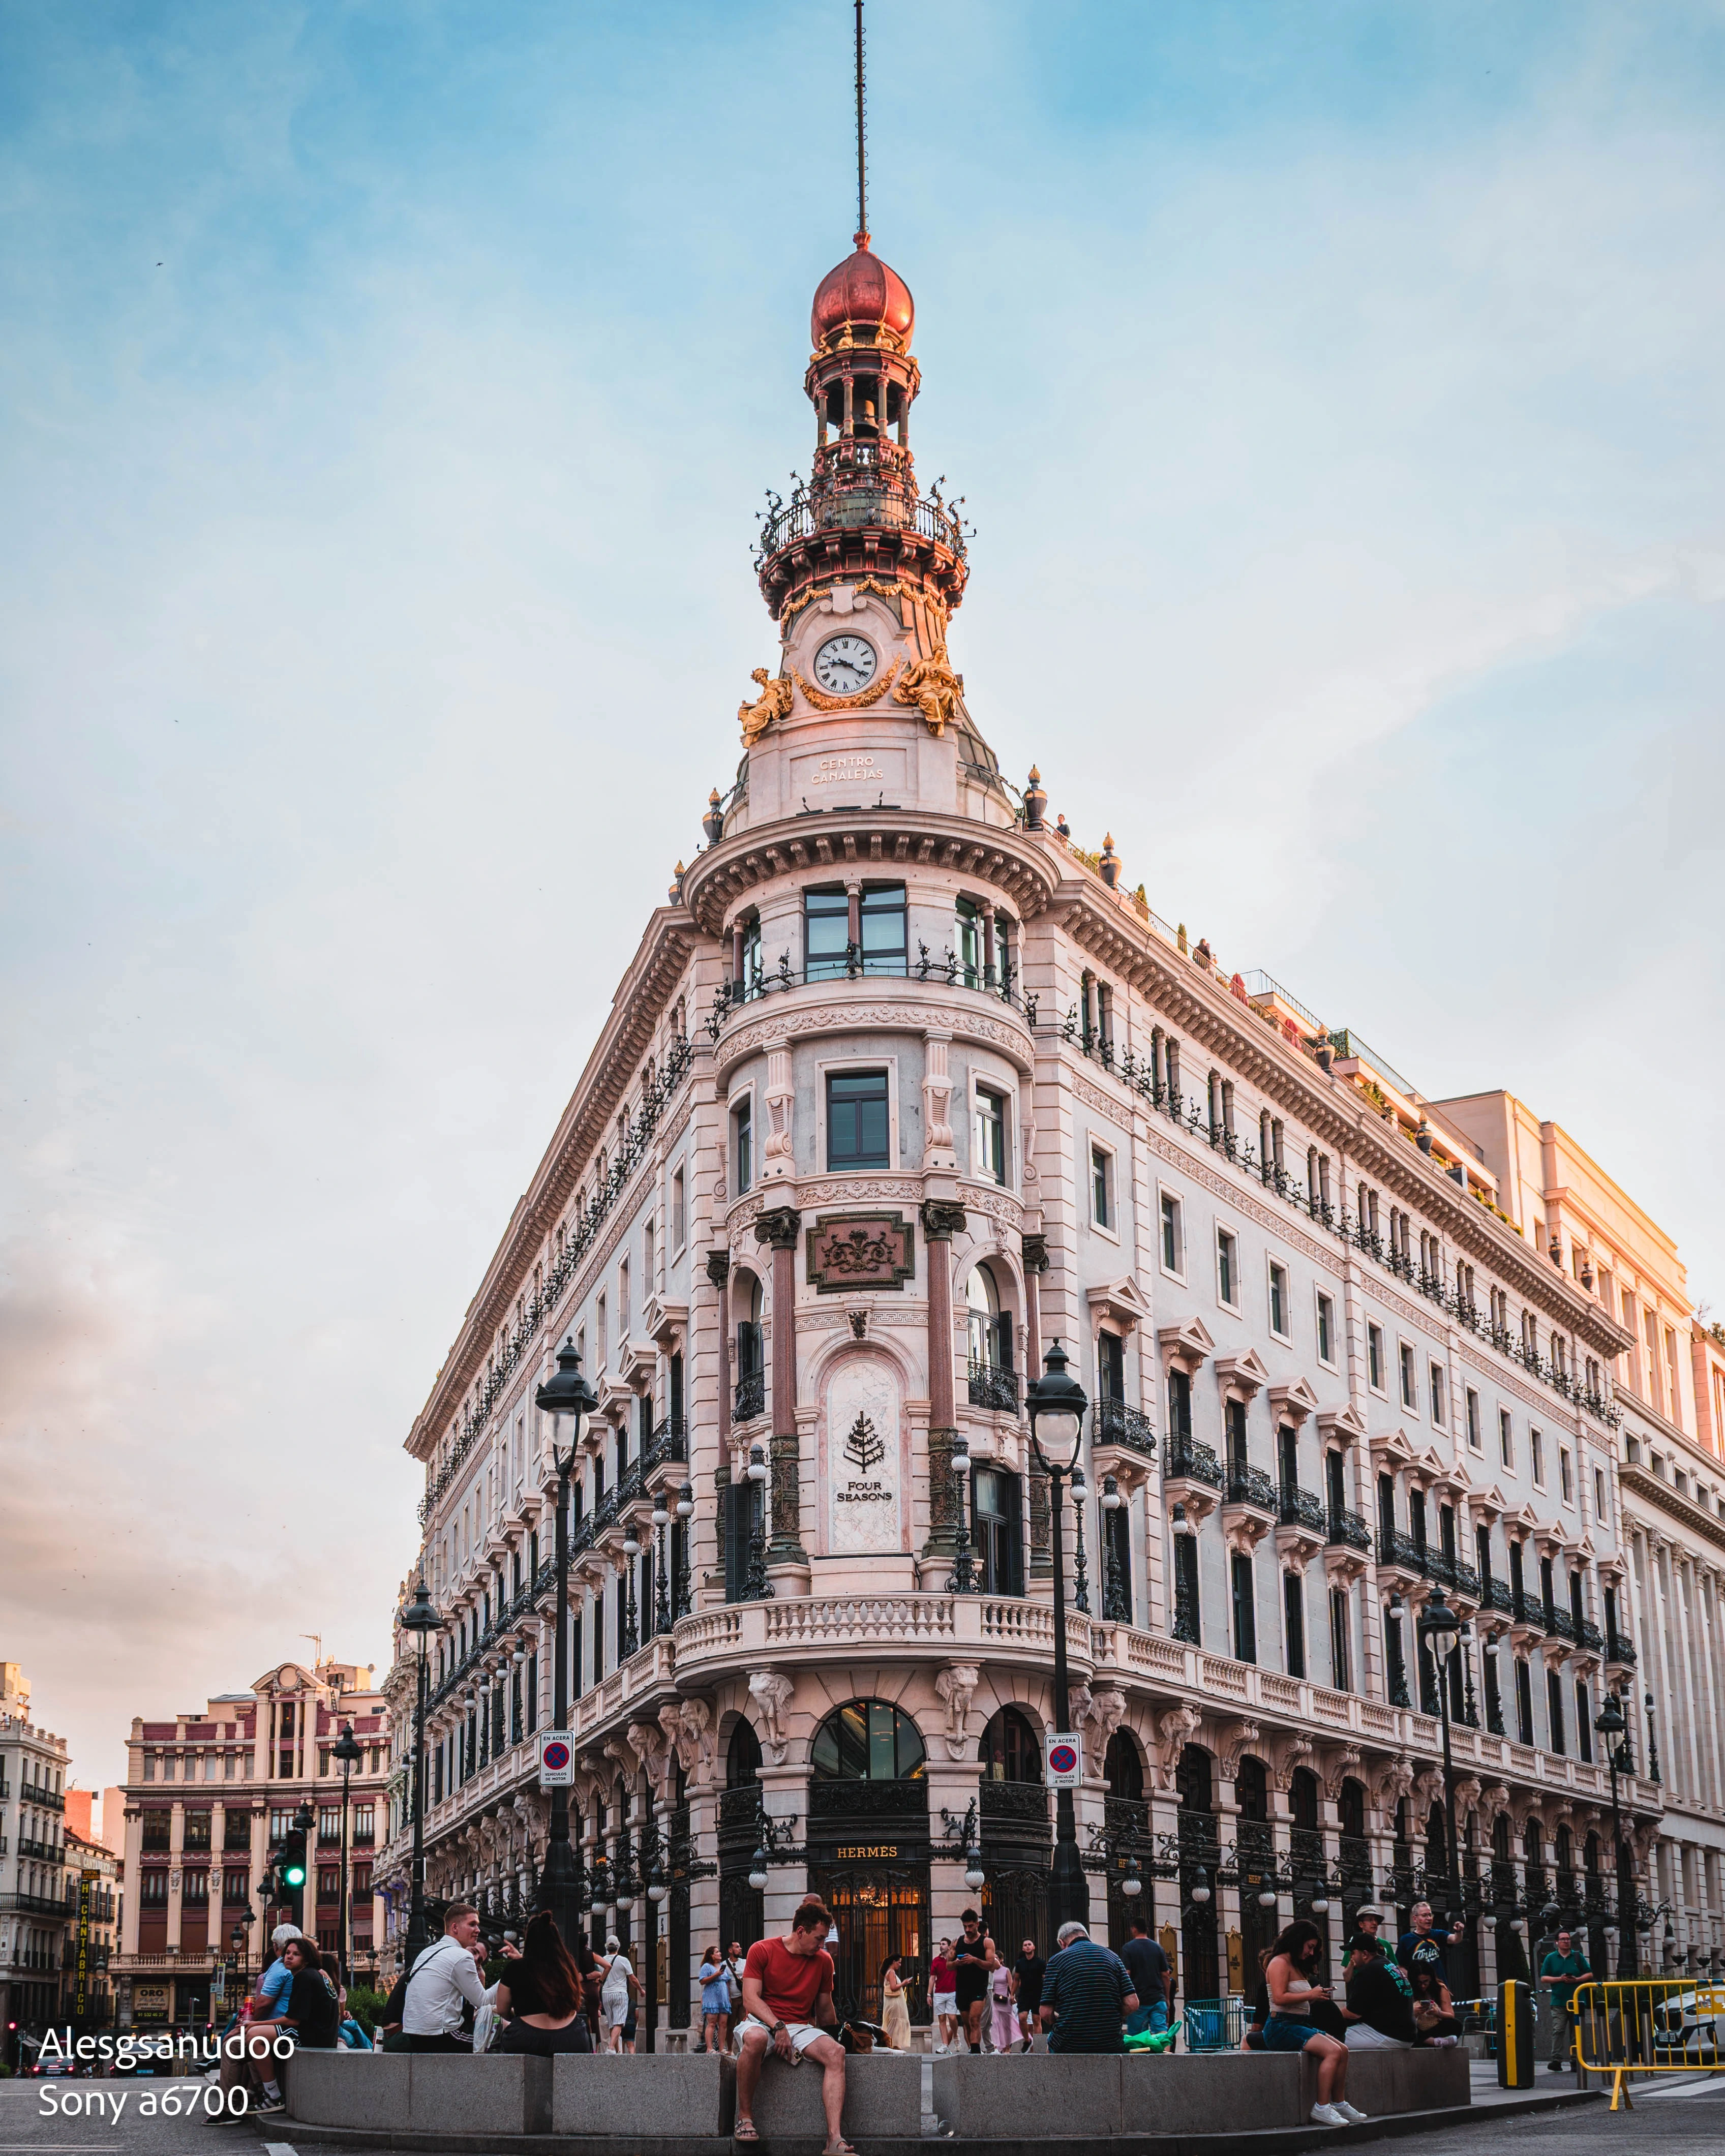
Start with the basic sliders
Set white balance first. Then adjust vibrance or saturation only as much as the photo needs.
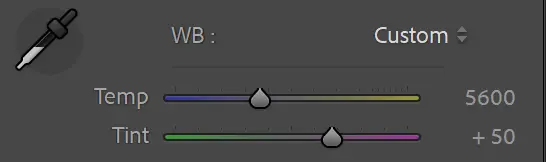

Targeted color
Refine one part of the palette
Use these tools after the basic sliders. They give you more control without changing every color at once.
Tints the highlights, midtones, and shadows separately.
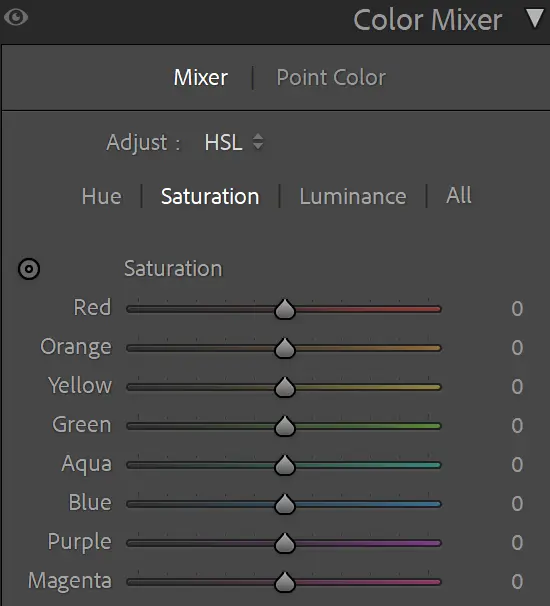
Changes the hue, saturation, or brightness of one color.
Makes one color brighter or darker.
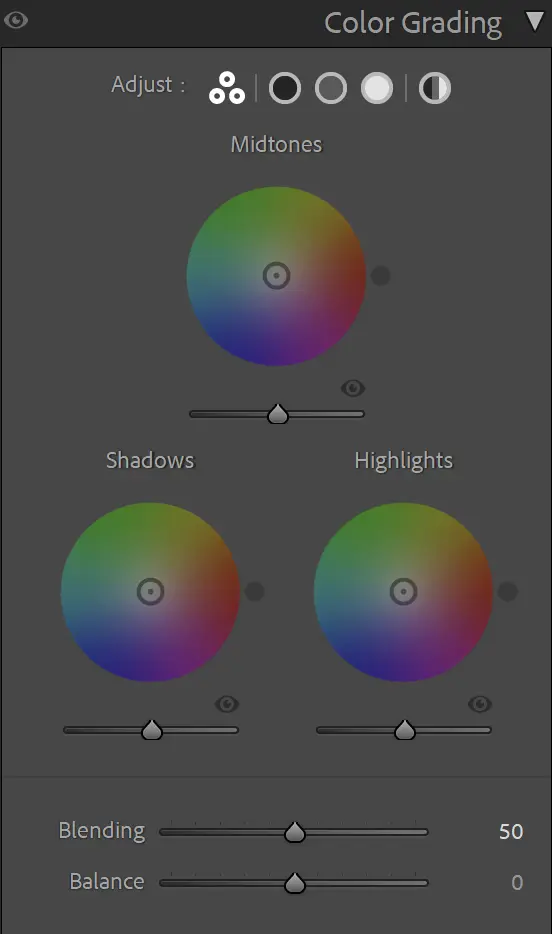
Software
Choose an editor you will use
Adobe Lightroom is common, but it requires a subscription for desktop plans. Other editors may fit you better. Check current prices before buying because plans change.
Organizes photos and edits Raw files, including many photos at once. Desktop plans are paid.
A free phone editor with fewer tools than the desktop version. It is enough for many first edits.
A free editor with many tools and a steeper learning curve. Its masking and noise-reduction tools differ from Lightroom.
A free Canva-owned design app. It works more like Photoshop than Lightroom.
Most camera brands offer free software for their files. These apps can be awkward to use.
General guidelines
Simple editing habits
There is no single recipe. Use these ideas as a starting point, then make the edit fit the photo.
Take breaks. After staring at one photo for too long, you may stop noticing that the edit is too strong.
Move a slider and watch what changes. Experimenting helps you learn each tool.
Find photographers whose edits you like. Study their use of light, color, and contrast.
High global saturation can make colors look false. Sometimes one color needs less saturation or brightness.
The white point sets the brightest white. The black point sets the darkest black. A white border can help you see whether the whole photo is too dark.
Brightening every shadow and darkening every highlight can make the photo look flat. Some areas should stay dark.
Start with the crop and brightness. Adjust color next. Stop when the edit begins to distract from the photo.